
- cross-posted to:
- [email protected]
- [email protected]
- cross-posted to:
- [email protected]
- [email protected]

Me again :P
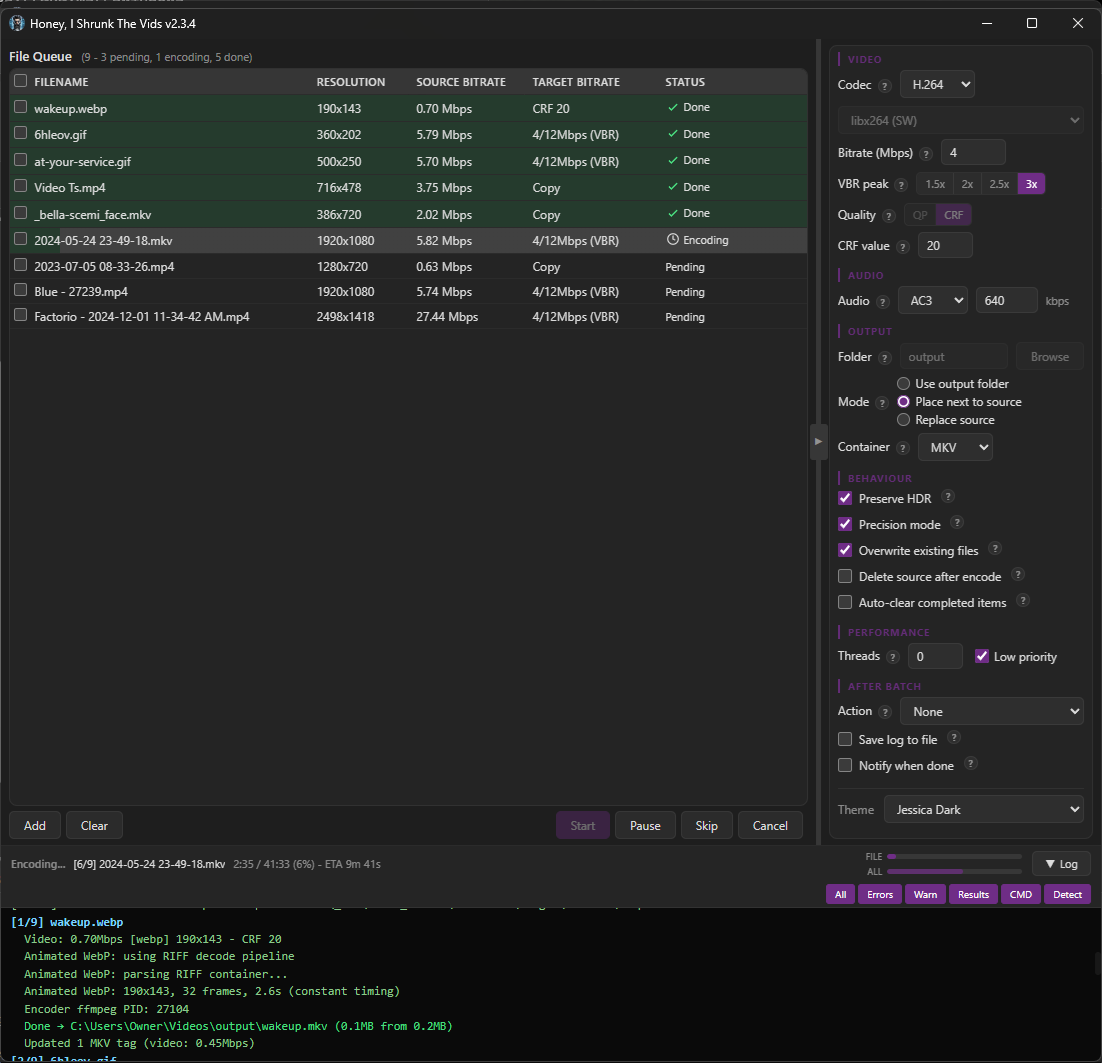
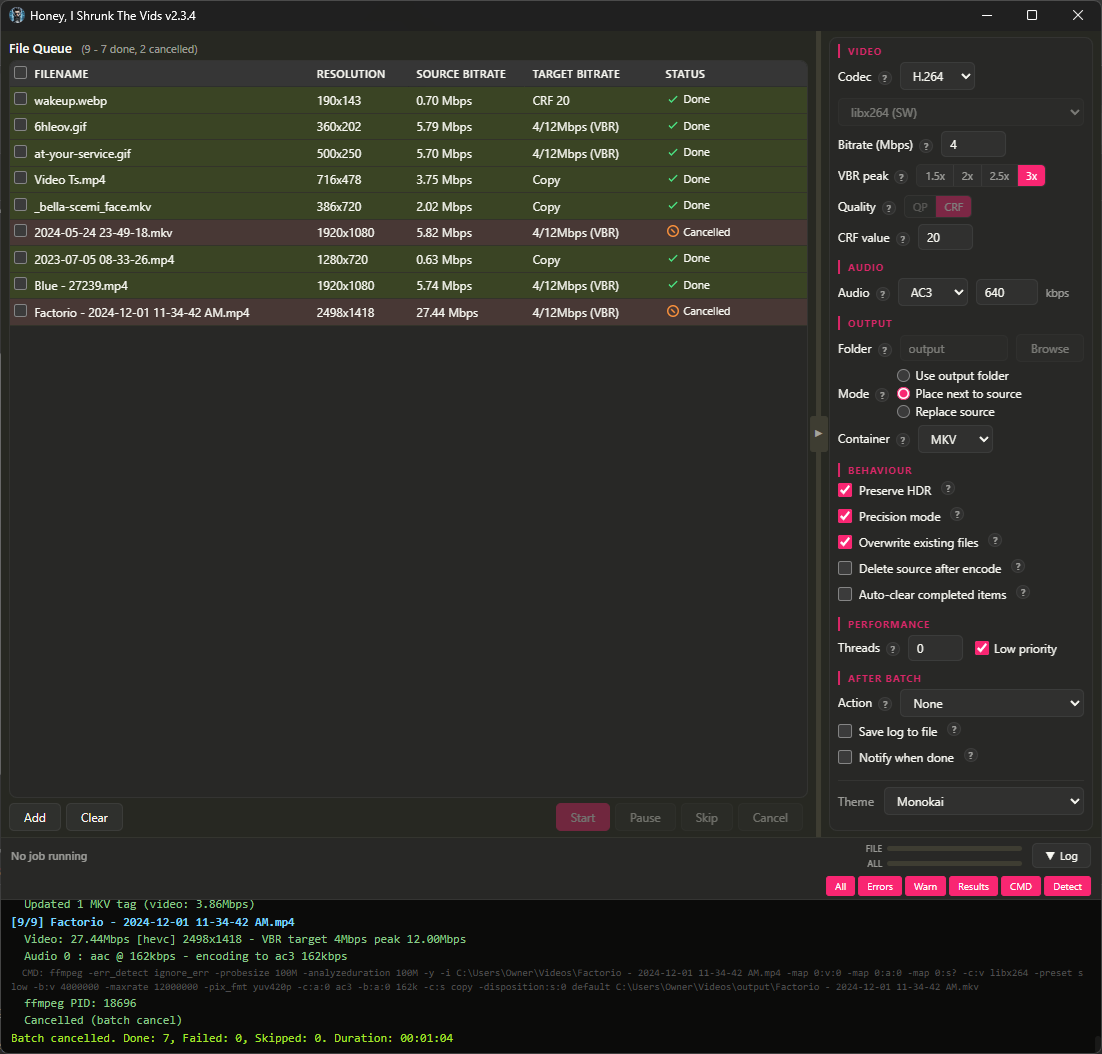
Honey, I Shrunk The Vids is a streamlined video conversion tool built on FFMPEG, with smarts built in for standardising all files put through it to a standard target bitrate into either .mp4 or .mkv containers, in either h.264 or HEVC format. Comes in GUI for desktop and CLI for headless operation. The idea is that you can point it at a folder full of folders full of videos and hit “Start”, and trust that when it’s through you’ll have videos compatible with devices back to ~2014, smaller (or at least no bigger) than they were before, and with accurate MKV tags where appropriate.
The application has gone through some more major revisions since my last post, and I thought people would like to know! The first thing you’ll notice is the visual refresh:
Screenshots
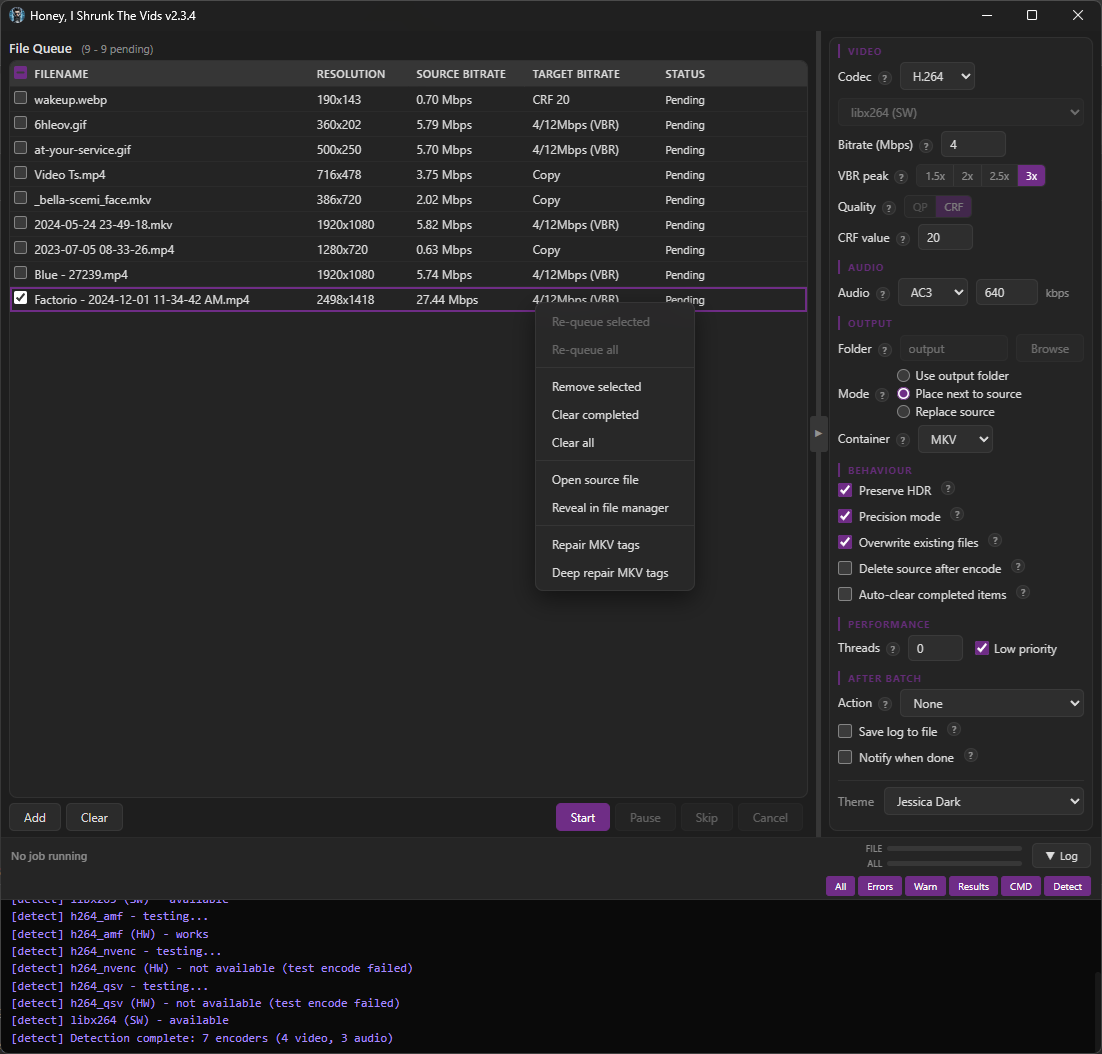
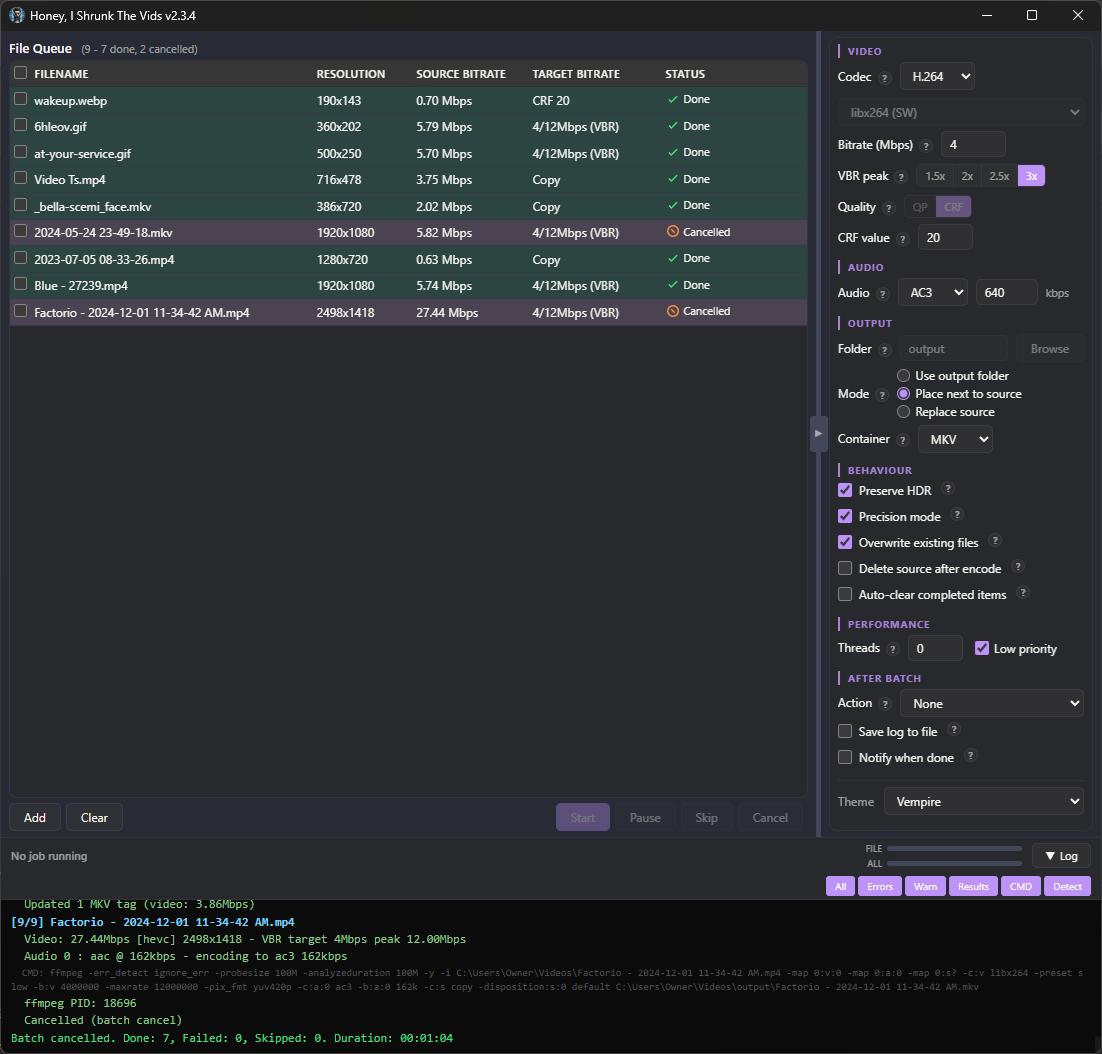
There are no more menu tabs; all options are exposed in a single side panel. Also, I added exotic filetypes for inputs: mts, mpg, mpeg, vob, flv, 3gp, 3g2, ogv, rmvb, rm, asf, f4v, y4m, apng, webp. That’s right, you can convert basically anything FFMPEG supports to convert to MKV or MP4!
I’m particularly proud of the webp support. FFMPEG can’t decode animated WebP natively (or at least, the most popular binaries can’t; maybe someone has a fork that’s fixed it), so HISTV:
- Parses the RIFF container itself,
- Decodes each frame through ffmpeg’s static WebP decoder,
- Composites them with correct alpha blending and disposal, and
- Pipes the result to the encoder.
Temp files are completely avoided for storage/IO reasons; variable frame timing is preserved, so smooth per-frame progress is retained from source.
The one filetype I left out was .yuv, because that’s raw data, no container or headers, and the user would have to enter the correct dimensions for each video (which defeats the core purpose of Honey, I Shrunk The Vids, so it’s out of scope for this project).
The theme engine has been simplified, with only 6 keys down from 16, and everything named more intuitively so it’s easier to tell what changes what. As well, a Linux user reported their FFMPEG wasn’t discovered properly, so ffmpeg discovery now uses login-shell PATH resolution (previously macOS only), fixing detection when ffmpeg is installed to locations like ~/.local/bin.
Bunch of bugs got squished (for example the encoder would switch when toggling the new “Precision Mode” checkbox), and several more efficiency passes were made with more hand-edits than ever. This is the cleanest, leanest build yet, and the most featureful.
Finally, I added “-full” versions for each platform. These come bundled with FFMPEG, if you want just a single download.
Also, I’ve flirted with the idea of signing the Windows executable so Windows Defender stops complaining about it, but I don’t yet see a reason to give Microsoft money for that. You can just click “More Info”, and then “Run Anyway”.
I’m running out of ideas for future updates, but if anyone has requests just drop a comment or open up an issue! And, as always, I’m here for questions. I hope you find it useful!
As an inspiration for this, look into Two-Pass encoding
Fun fact - HISTV actually has two-pass encoding! Though, with enough system RAM you can actually look ahead far enough that you can get the benefits of two-pass in just a single pass. I have a bit about this in the README.md:
Two-pass only happens when precision mode is on AND the system has less than 8GB RAM AND the file would be CRF-encoded. Reason being those lookaheads above. Lookahead buffers live in memory. On low-RAM systems that buffer would be too large, so the app falls back to two-pass instead and stores the analysis run in a tempfile on disk. To break down each one:
The biggest problem with two-pass encoding is the speed. It has to do two passes over the whole file: one analysis, one actually encoding. With a 250-frame lookahead, you’re basically just writing your passlog into RAM - and reading from it - as you go. With 120-frame lookahead your CPU will likely catch up to the passlog at times, but you can still write to and read from it as you go, so you still get similar speed, and still close enough in quality that it doesn’t really make a difference, in a single pass.
Damn, I had no clue about this single-pass look ahead, all this time I’ve been doing two-pass for nothing 😵💫
Thanks!